
- Select a few options on the wall where the clock should be fixed.

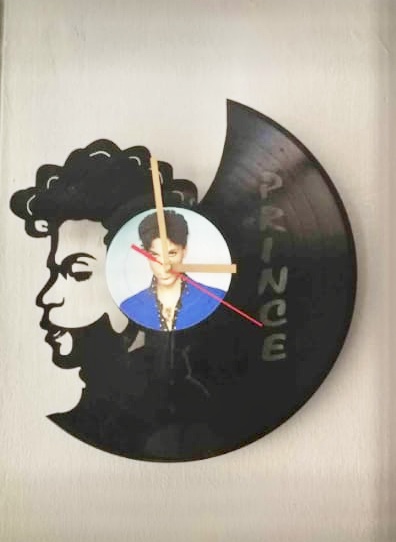
Placing your clock - The most crucial consideration for suitable placement of a clock is that it should be visible from all the places in the room.
- Hold the clock against the wall. It is worth spending some time on this. You should consider the placement of furnishings in the room, lighting, color match, and visibility from different parts of the room.
- Hold the clock against the wallIf you have a friend or a family member around, ask them to watch it from a distance while you hold the clock. They can guide you about the symmetry of the clock against the structure of the wall and the placement of other objects such as paintings, shelves, curtains, etc.
- Hold the clock against the wall in the desired place. Then make minor marks with a pencil in the middle of the top and the left edge of the clock. Then go back and visualize the clock there to estimate the symmetry against the wall and other objects.
- You can erase the pencil marks after you hang your clock on the wall.
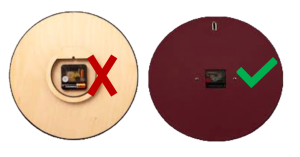
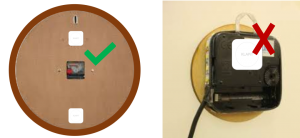
Only the clocks which have a strong frame or a board behind them can be hung using KLAPiT. You need a solid hard surface on which you can install the Beta steel tapes in KLAPiT.
The clock’s machine has a firm surface on which the beta steel tape can be firmly installed. However, KLAPiT uses a super-strong NED magnet between the Beta steel tape on the clock and the Alpha steel tape on the wall. The magnetic field affects the steel parts of the device, causing the clock to stop. Therefore, it is not advised to use the beta steel tape on the clock’s machine.

The product makes me so happy! It is so easy to use, no unnecessary drilling required and geez, the NED magnet is strong!!!
Clap for #KLAPiT. No mess, No Fuss, No BlackHoles in White Walls

Wow what a product go drill free
It’s a really good product, didn’t need to drill holes in my walls to hang my painting and also had the option to switch even after hanging it ! Really good product, must buy.
DIY
DIY – Candle Light Decor
Create multiple units of this beautiful Candle Light Decor and hang these forming interesting patterns

DIY
DIY Project – Red Leaves Cherry Blossom Wall Decor
Get inspired by this simple ‘Red Leaves Cherry Blossom’ DIY project for your home. Additionally,
DIY
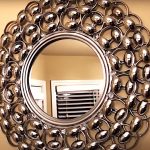
DIY Project – Silver Decorative Wall Mirror
The silver decorative wall mirror is a beautiful DIY project for your home. The converging