KLAPiT - The innovative way to hang various products on the walls
What is a double-sided tape?
A double-sided tape has a carrier substrate material such as paper, PET, foam, or silicone coated with an adhesive layer on both sides of its flat surface. The adhesive coating on the two sides of the double-sided tape can be the same or different. The thickness of a double-sided tape attributes to the thickness of the carrier substrate. Use thicker double-sided tapes on rough and textured surfaces.
Home decor enthusiasts often use double-sided tapes to replace screws and nails for hanging pictures on walls. Most people face several problems with double-sided tapes. Most issues are inherent in the existing double-sided tapes. Some of these relate to the difference in the usage of these tapes
How to use a double-sided tape?
Double-sided tapes generally come in two forms – Roll and pads. A double-sided tape roll will have a liner on one side of the tape, and the other sided with exposed adhesive is rolled into a coil form. You have to find the open end of the tape, pull, cut the desired length and attach it to one surface. Then, remove the liner from the other side of the tape and attach the second surface to this side of the double-sided tape. The double-sided tapes use pressure-sensitive adhesives. Therefore, you should always press the tape firmly against the surface. To read more about pressure-sensitive adhesives (PSA) annd double-sided tapes, read “How Stuff Works?“
Double-sided tape pads are flat and have adhesive-protective liners on both sides of the tape. The size of the pad ranges from a few centimeters to meters.
KLAPiT - Better than a double-sided tape
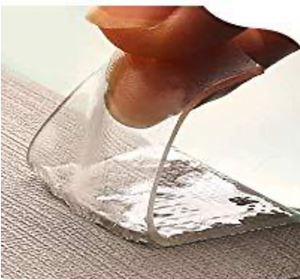
KLAPiT is a unique and innovative picture hanging strip designed to hang frames, paintings, wall clocks on the walls. You can use KLAPiT to install speakers, power extension cords, remote controls, pen holders, kitchen accessories, and many other objects on your walls without drilling holes or hammering nails in them. KLAPiT combines the power of the VHB adhesive with Magnetism. Therefore, you can remove your product and reinstall it at any time. VHB adhesive’s strength and design make removing the product and reinstallation simpler make KLAPiT better than any double-sided tape.
Getting the best from KLAPiT picture hanging kit
How to use KLAPiT?While developing KLAPiT, we researched various adhesives used to hang products on the wall, such as double-sided tapes, velcro tapes, etc. During our research, we contacted consumers and took their feedback about the existing drill-free solutions. We also understood common problems with double-sided tapes because users are unaware of some of the essential characteristics of adhesives and surfaces. These problems also relate to the use of KLAPiT. Therefore, we decided to compile these problems and recommend solutions as well. We hope these recommendations will also apply to all double-sided tapes.
Previous
Next
Using adhesives for hanging is different
Most users either use drills and screws or nails and hammers for hanging products on their walls. Therefore, specific procedures like “cleaning the surfaces of the wall and the product before installation” and “waiting for 60 minutes before hanging” were missed while using KLAPiT. These procedures are particular to adhesive tapes are relatively new and, therefore, often forgotten while hanging. We believe that making these errors is normal as you adapt to a new hanging procedure with KLAPiT.
In this blog, we have compiled some of our learnings about the common errors and issues while using KLAPiT. Most of these learnings were common among the double-sided tape users. You will also find suggestions to either manage or avoid these issues. This list uses the experience of various KLAPiT users in many countries to develop this list. We believe this will give good learning to KLAPiT users. Using the procedures mentioned in the blog will have a convenient damage-free hanging experience.
Development of KLAPiT
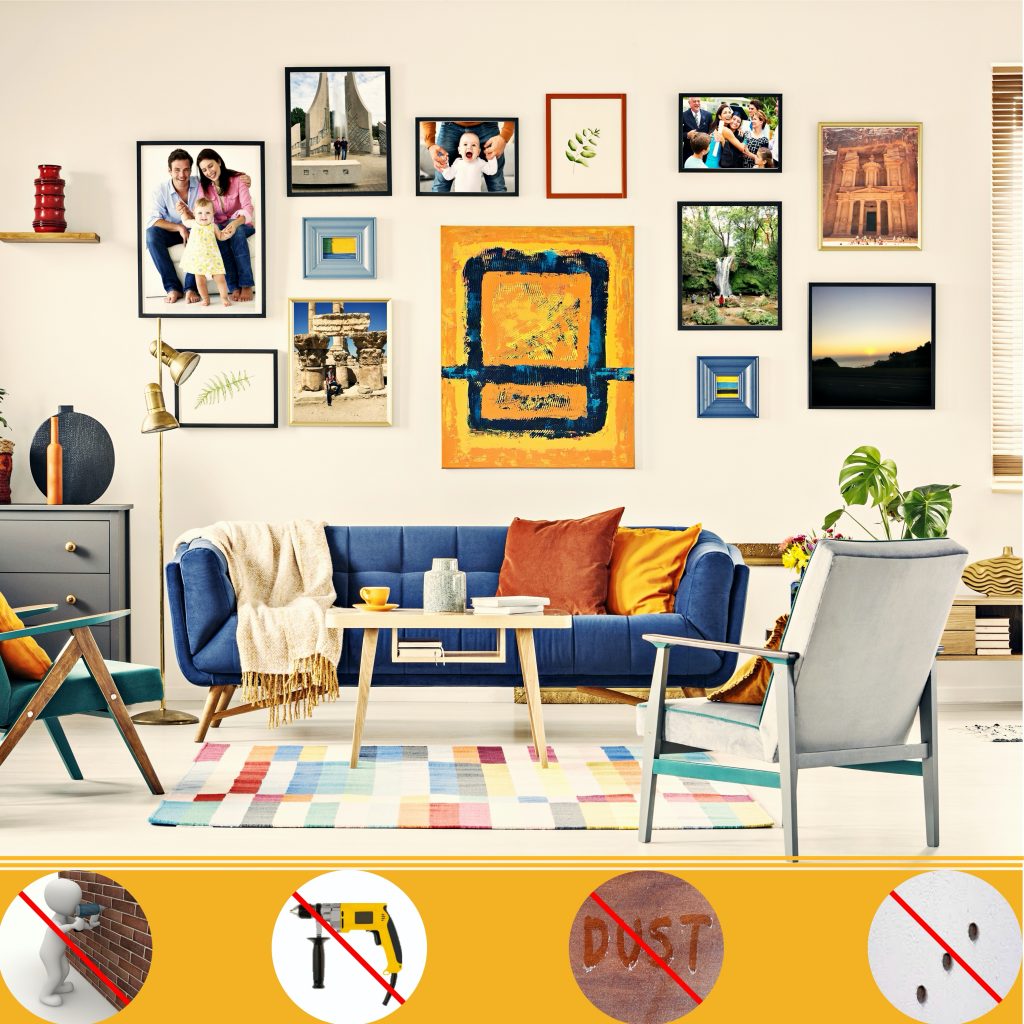
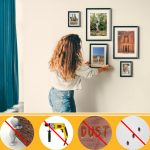
While working on the concept of KLAPiT, we found that homemakers don’t like screws and nails. Screws and nails require specialized labor, damage walls, and sometimes even the electrical and water fittings inside the walls. They also generate dust, often crack tiles, and cannot be used on certain surfaces like Glass, Particle Board walls, and acrylic. Based on consumer feedback, we developed the brief for KLAPiT that had to meet the following requirements.
Considerations for the development of KLAPiT
<ol
KLAPiT should be small in size to make it usable with a large number of products.
The appearance of the KLAPiT should be aesthetically acceptable on the wall, even in the absence of the product.
It should be simple so people of all age groups should be able to use it.
Users should be able to remove their products from the wall and reinstall them, giving the users the flexibility to change the look of the wall anytime. This absence of this feature has been the biggest shortcoming in the double-sided tapes.
It should be environmentally friendly and reusable for a long time.
The adhesive should be easy to remove from the surface and should not leave any stains after removal.
KLAPiT meets all of these requirements. To keep its size small, we use the heavy-duty 3M VHB adhesive. This VHB adhesive tape is generally used in many industrial environments and can sustain adhesion in extreme temperature conditions. Also, the VHB adhesive used in KLAPiT is different from the usual foam-based adhesives. We ensure that KLAPiT steel tapes will never leave a stain after removal. The NED magnet used in KLAPiT is of the strongest permanent magnet class of neodymium magnets.
To easily track and fix the common errors and issue, we have classified them into three categories:
Surface related issues
Installation related issues
Post-installation precautions
Category 1: Surface related issues
The Problem:
When you attach an Alpha or the Beta steel tape to the wall or the product, it detaches even with very little pull. You might have experienced this while using some of the other adhesive hooks too. The “hooks” cannot bear even half the weight that the hook manufacturer claims. If you face a problem of this kind while installing the steel tapes, there may be some issue with the surface you are fixing the steel tape. Listed below are a few problems and their solutions, which we believe will solve your challenges in drill-free hanging.
Issue #1 - Dusty surface
Insights:
Surface appears to be clean
Do you wonder that despite using a strong double-sided tape, why does the painting fall? During our research, we found that this is because of the dirty surface most of the time. The walls and the surfaces often appear to be clean but have micro dust particles sticking on them. Especially on the light-colored surfaces, dust particles are not visible. Moreover, moisture makes the dust particles stick to the surface firmly.
When you install the KLAPiT steel tapes, the adhesive partially sticks to these loosely bonded dust particles. Therefore, temporarily the steel tape remains on the wall as it loosely connects with the hard surface of the wall. The rest of the steel tape is only attached to the dust particles. Therefore, the partially bonded adhesive leaves the wall’s or the product’s surface with a bit of pressure. As a result, with a bit of pull, the steel tape will detach from the wall. The lesser is the adhesive bond with the wall or the product, the weaker will be the strength of the adhesive.
The solution:
Clean the wall’s surface and that of the product with an alcohol-based cleaner before applying the steel tape. After cleaning the surface, wait for @ 30 minutes for the moisture to dry before installing the steel tape. The alcohol-based surface cleaners evaporate fast without leaving moisture. Do not use water or soap-based cleaners to clean the surface. Such cleaners leave the surface moist, which takes a long time to dry and make the surface ready for adhesion. Else, clean the wall, and the product surfaces with a dry cloth or thick tissue paper.
Issue #2 - Wet or Moist Surface
Insights:
If you live in a coastal area, hills, or some other place with high humidity, you may have moisture particles sticking to your walls. These particles may not be visible on the wall. Sometimes you can notice high moisture if you swipe the wall using dry tissue paper. The tissue will get slightly wet.
Loose dust particles stick to KLAPiT and not to the frame
When you install the KLAPiT steel tapes, the adhesive partially sticks to these loosely bonded moisture particles. Therefore, temporarily the steel tape loosely connects with the hard surface of the wall. The rest of the steel tape is only attached to the moisture particles. Therefore, with a bit of pressure, the partially bonded adhesive will leave either of the two surfaces. The result is that with a bit of pull, the steel tape will detach from the wall.
In principle, the strength of the bond between the adhesive and the product is directly proportional to the surface area of their direct contact. The larger the tape’s surface area is in direct contact with the product or the wall, the stronger will be the bond between the two.
The Solution:
In case you observe or suspect that there can be moisture on the wall, you should treat the wall first. To do this
Wipe the surface with dry tissue paper.
Use a hair drier to blow some hot air on the wall’s surface and then wait for some time till the water particles evaporate.
After treating the wall to eliminate moisture, you can then clean the surface of the wall and the product with an alcohol-based cleaner before applying the steel tape on the wall and the product. The alcohol-based surface cleaners evaporate fast without leaving much moisture. After cleaning the surface, wait for @ 30 minutes for the water to dry before installing the steel tape. Please do not use water or soap-based cleaners to clean the surface. Such cleaners leave moisture, which takes a long time to dry. Therefore, it may take more time for the surface to be ready for adhesion.
Issue #3 - Uneven surface
Insights:
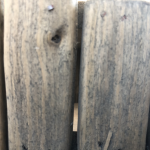
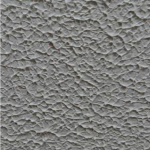
Surfaces such as hardwood are unevenTextured Walls have uneven surface for double sided tape
Some walls or products have uneven or rough surfaces. Few examples of these are – textured walls, raw wood, and 3D-designed acrylic. It is not easy to treat such areas, and therefore, it is better to avoid using an adhesive on them.
The Solution:
You can do two things to resolve this issue.
Find an area of over one sq. inch on the surface that is perfectly flat. Since the size of KLAPT’s steel tapes is only one sq. inch, it will get 100% area on the wall or the product surface where you can install it.
Alternatively, use sandpaper or a scraper to scrape one sq inch area of the product or the wall where you want to install the steel tape. After scratching the surface, wipe the scraped area with a dry tissue to remove excess dust. After that, clean the surface using an alcohol-based surface cleaner to remove all the dust particles from the surface before installing the steel tape.
Design home without labor, drill, dust & damage
Previous
Next
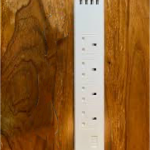
Issue #4 - Product has a surface area of less than 1 inch
Insights:
Sometimes the width of the frame is slightly less than one inch. In such cases, the strength of the Beta steel tape will reduce significantly, and the steel tape may detach when you hang the product. In such cases, we suggest two solutions. Thus, depending on the width of the frame, you can decide on a suitable choice for damage-free hanging.
The Solution:
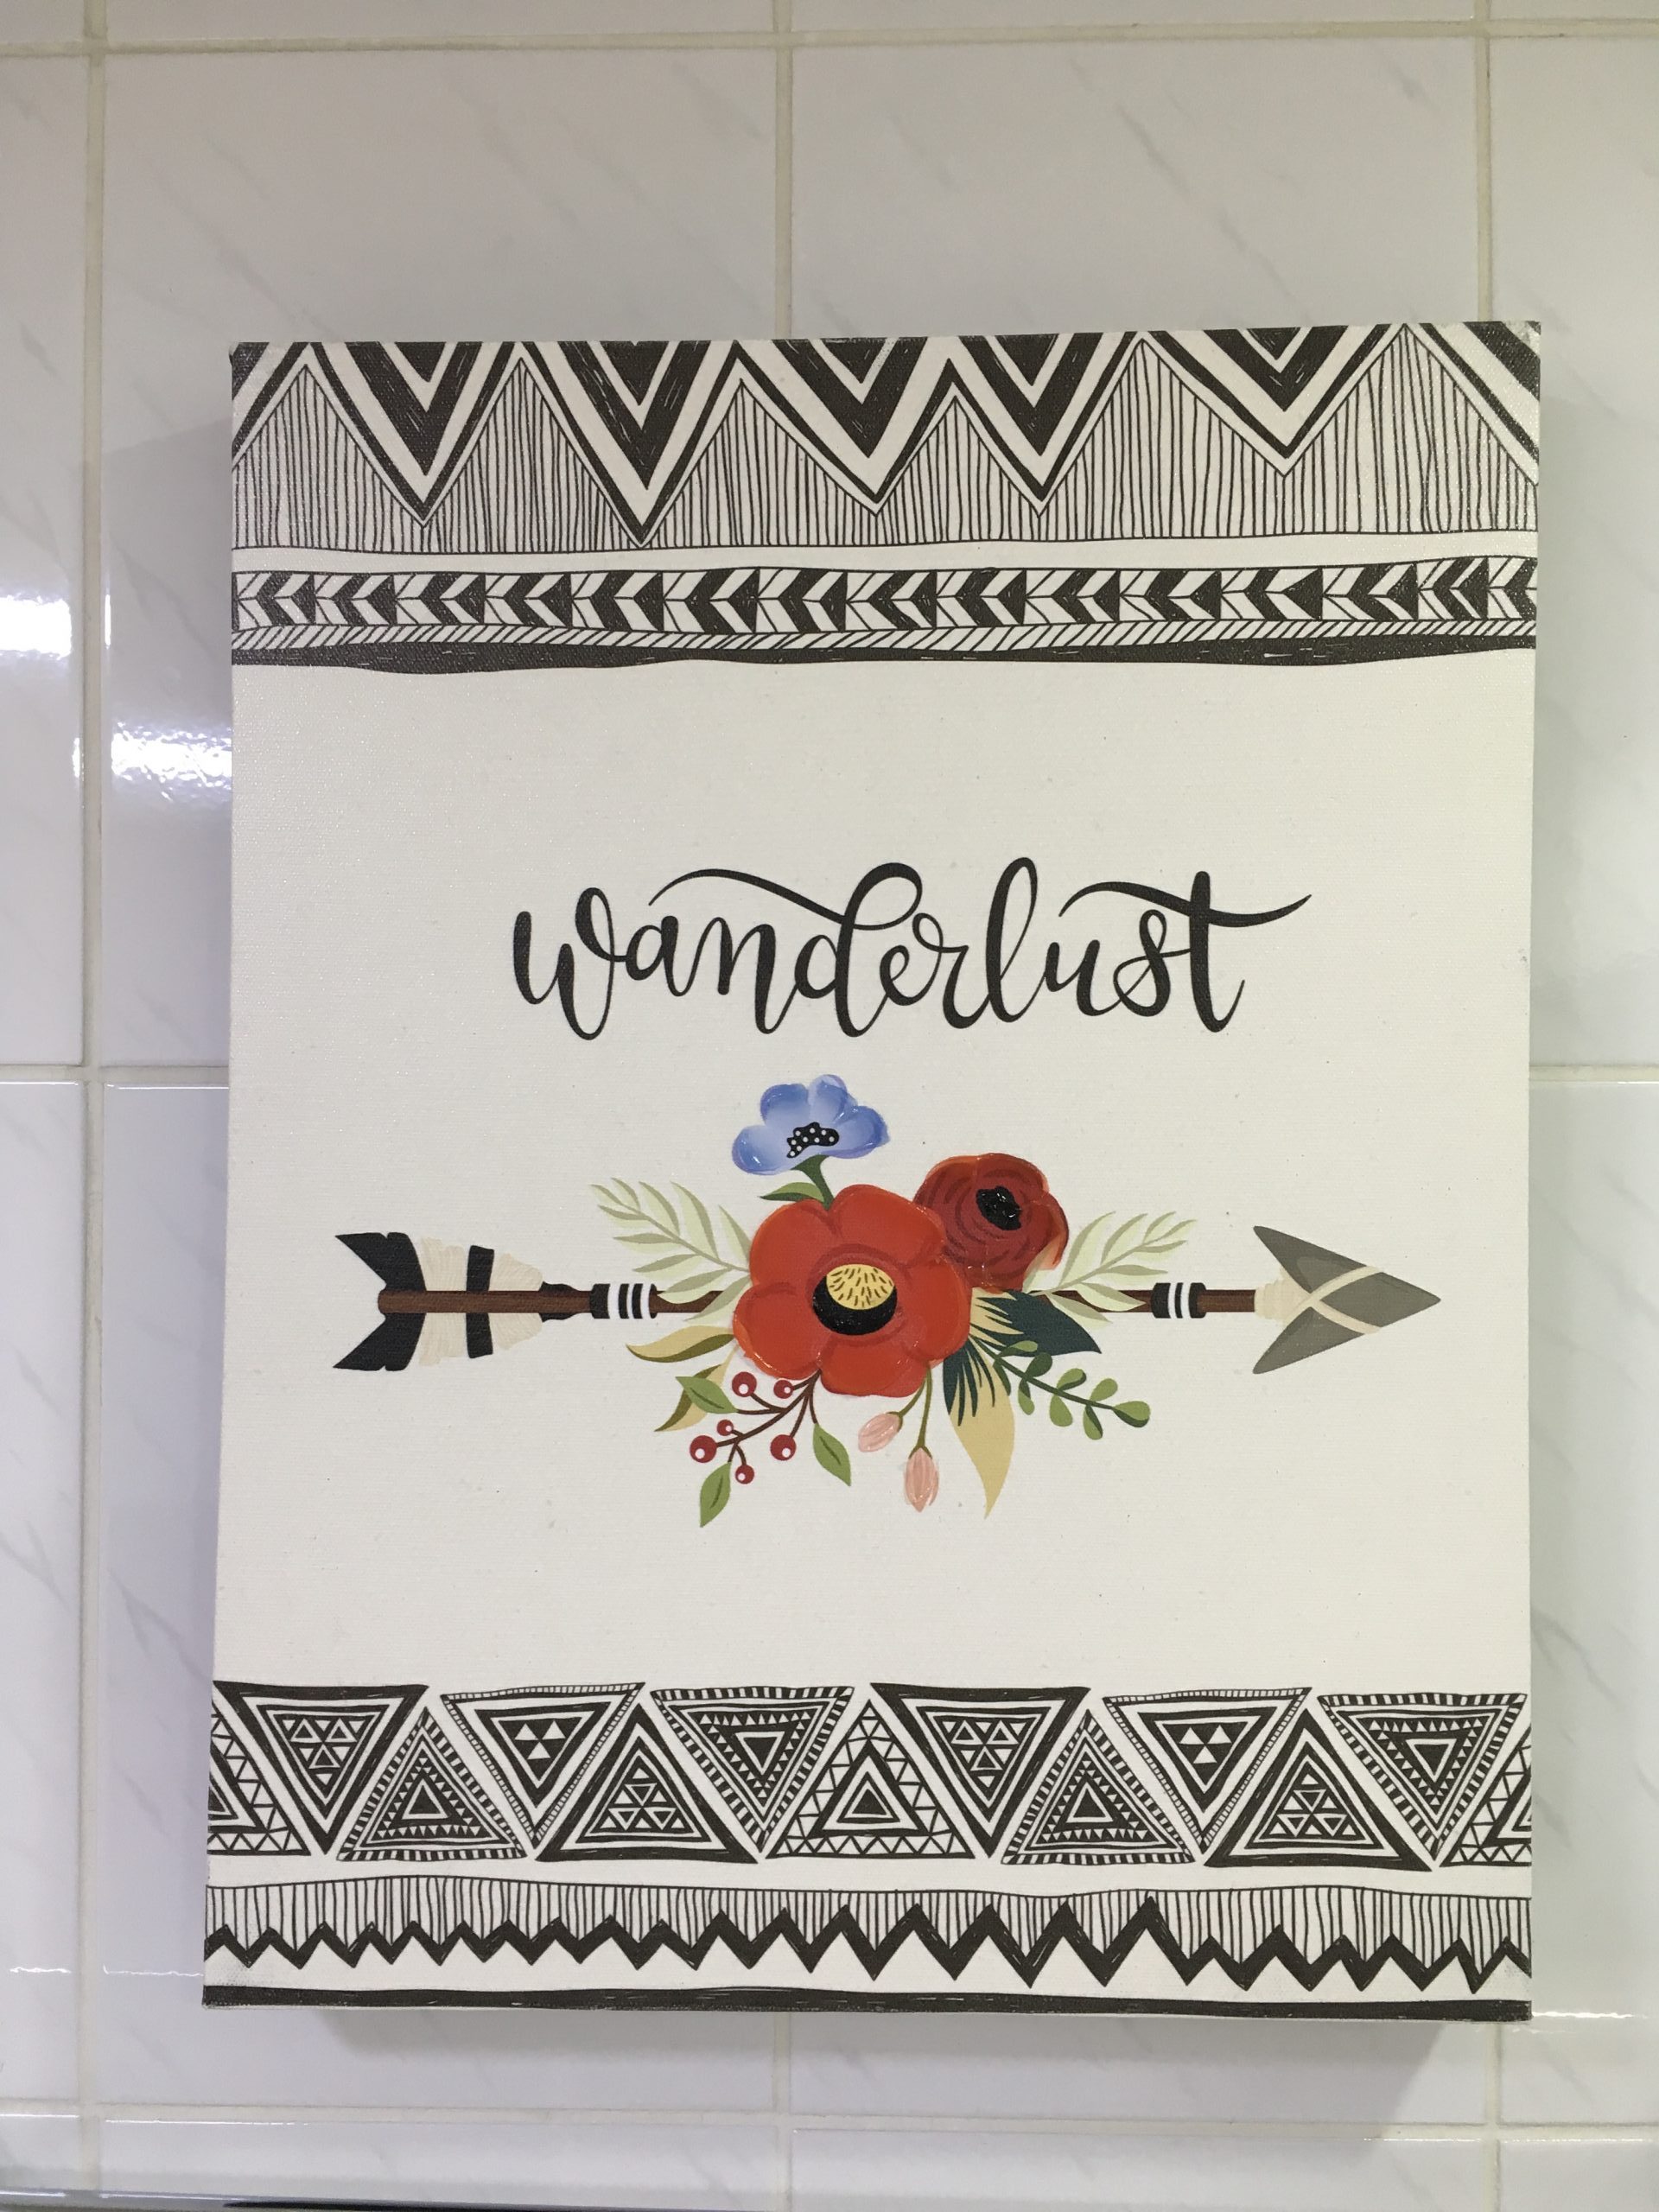
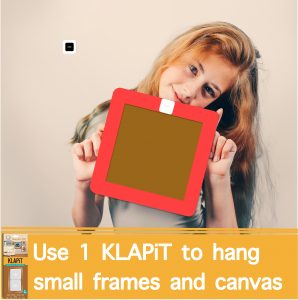
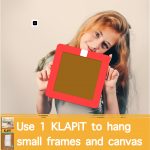
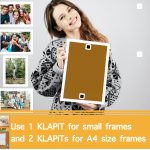
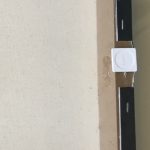
Solution #1: If it is a light painting, s.a. canvas on a frame, you should use two KLAPiTs in place of one. While doing so, please attach the Beta so that the entire frame width is precisely in the middle of the Beta steel tape. The adhesion strength of the steel tape in the KLAPiT assembly is the strongest in the middle of the steel tape. Follow the rest of the frame installation process, usually.
Solution #2: Attach an additional piece of board, MDF, or wood to the inside of the frame to enhance its width to 1 inch. You can attach the piece of wood to the frame using super glue or a strong double-sided tape. The enhancement will give KLAPiT the complete 1 square inch area to firmly attach to the product. After that, you should follow the rest of the frame installation process.
Issue #5 - Weak Surface such as paper and plastic films
Insights:
Certain surfaces such as paper have a high propensity to tear. Therefore, such a surface can easily break with the pressure due to the weight of the product. It is advised not to use any adhesive hook, including KLAPiT, on such surfaces. While the steel tape will stick well to the surface, the challenge will be that the paper itself will not bear such weight and tear.
The Solution:
We suggest that you measure the exact one sq. inch space where you want to install the beta tape in such cases. After that, you should tear one sq inch of paper or the plastic film from the surface using a sharp object such as a paper cutter.
Once you see the rigid surface below, you can follow the standard frame installation procedure to install your product using KLAPiT. In this manner, you will avoid fixing the steel tape on the paper. The steel tape will completely cover the torn area making no difference to the aesthetics of the wall or of the product where it is applied.
Issue #6 - Elastic surfaces- The trampoline effect
Insights:
The walls and the product surfaces are stiff and rigid. However, sometimes these surfaces are attached to solid frames leaving the middle of the surface with high elasticity (similar to a trampoline), especially in products made of acrylic or plastic. Therefore, when you try to press this elastic surface hard, it moves back. To attach a steel tape firmly, you need the surface to be stiff and not bouncy. Else, the bond between the steel tape and the product will be weak, leading the steel tape to detach from the surface after some time.
The Solution:
If the elastic surface is detachable from its frame, please detach the flexible part from the product. In products such as photo frames and wall clocks, you can easily separate the rear panel from the product. After that, place the back panel on a hard surface and install the steel tape on the surface using the standard KLAPiT installation guidelines.
If you can not detach the panel from the product, you need to provide additional support behind the elastic panel such that it does not move when you press the steel tape hard against it. If you cannot do either of these, we advise not to use KLAPiT on such a surface because, without a firm pressure between the steel tape and the surface, the adhesion will be weak and will not sustain a heavyweight for too long.
Issue #7 - Surface with nails, staple pins etc.
While applying a the steel tape (or any double-sided tape) you may find that the surface of the product often has things such as nails or staple pins projecting from it. These must be removed from the surface before installing the steel tape. Else, the elevation caused due to these projected objects will restrict the steel tape to firmly attach to the surface of the product. Remember that you need a hard flat surface to optimally install the steel tape. Sometimes using a thicker double-sided tape to cover the staple pins may work to mount a light weight object. However, we recommend removing the staple pins while using any double sided tape and especially when you are mounting it with KLAPiT.
Issue #8 - Holes on the surface
Holes on the walls
Sometimes you will find small holes on the wall due to a previous screw installation. Do not try to cover the hole with steel tape. Both the steel tapes must completely attach to the product and the wall, respectively. Even a tiny gap between the steel tape and the surface can significantly weaken the bond. Also, the hole edges are usually weak and release dust, causing more inadequate adhesion of the steel tape. You need to install the steel tape either below or above the hole using the standard installation process.
Holes on the product
Many products have a hole behind them for hanging them on a screw or a nail. This hole is generally placed right in the middle of the top area. Install the steel tape either above or below the hole and without covering any part of it. Covering the hole with the steel tape will reduce the area of contact between the adhesive and product. This reduced area will mean less adhesion and therefore, a weaker bond. This phenomenon applies to all double-sided tapes also.
If there is no option to install a steel tape either above or below the screw-hanging spot, you need to install two steel tapes on either of the two sides of the hole (and corresponding steel tapes on the wall) to maintain symmetry and balance the product.
Category 2: Installation related errors and issues
Press firmly
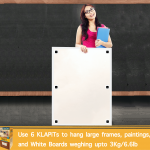
KLAPiT uses top-quality 3M VHB adhesive on each steel tape. Therefore, the small-sized KLAPiT (measuring only 1sq inch) can carry a weight of up to 500g). However, you must firmly attach the entire one sq inch steel tape to the surface. Therefore, you should press the steel tape hard enough, using both the thumbs and palm. Press the steel tape several times to maximize its adhesion. The repeated pressing of the steel with your palm is essential in the KLAPiT installation process. The flat surface of the steel tapes makes pressing relatively easy compared to a hook.
The method of “pressing hard” may seem cumbersome, but the effort is significantly lesser than drilling holes and fixing screws in the wall.
Wait for at least 30 minutes after application and before hanging
Most adhesives take some time to bond firmly. You would have experienced that with various other forms of adhesives such as liquid adhesives and other double-sided tapes. We recommend that you wait for at least 60 minutes after installing the steel tapes on the product and the wall before hanging the product using the NED Magnet.
Never pull or pluck a product hung with any Double-Sided Tape
While hanging a product on the wall using a traditional screw, we usually test its firm suspension by pulling the product. After using KLAPiT, you should not pluck the product after hanging it (like you never pluck the hung products that use double-sided tape). You can keep your hands under the product if you do not feel confident about the correct installation of the product. A poorly installed product will slide into your hands.
Precautions while using Multiple KLAPiTs
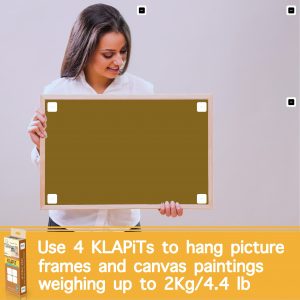
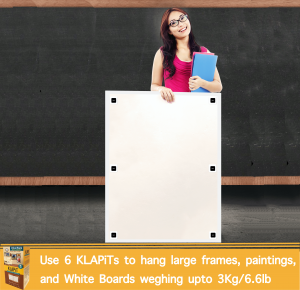
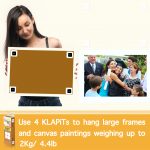
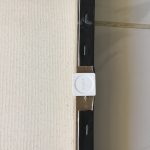
If a product is long or wide, although it may still be less than 500 g, you should still install two KLAPiTs. Attach one KLAPiT at the center of the top edge and the other at the center of the bottom edge, respectively. This way of using two KLAPiTs at the top and the bottom edges will keep the product straight and, therefore, avoid the force on any of the steel tapes to peel off*
It is essential to mark the places on the product and the wall correctly. Variance in the alignment of Alpha and Beta steel tapes can significantly impact the proper installation of the product.
Product Slanting
While using a single KLAPiT, check if the product is straight or is slanted. Slanting of the product will develop a continuous peel-off force on the steel tape. Ensure that the PIcture is hung straight, parallel to the wall.The slanting of the product produces torque on the steel tape, which may cause the steel tape to detach from the surface completely. You can experience the difference between the torque and the regular pull when you try to open a glass bottle of Coca-Cola or beer. Instead of directly pulling the bottle’s cap, you often use a bottle opener (that uses torque), which requires a much lesser effort than pulling the cap.
If you find the product is slanted, please use another KLAPiT at the bottom edge of the product to hold it straight.
Note
You usually remove a steel tape using a peel-off action. The force required to peel off an adhesive tape is much smaller than the force needed for the direct pull. The peel-off removal is a characteristic of all adhesives and double-sided tapes.
Category 3: Post installation precautions
The precautions are significantly related to remote controls, power extension cords, tissue rolls, shelves, Bluetooth speakers, etc. These products are removed and reinstalled more often compared to paintings and picture frames. However, it would be best to take the same precautions with all the products hung using KLAPiT.
Always slide the product to detach it from the wall. Never pull.
While hanging a power cord, understand that the force due to hanging wires may be much larger than the weight of the power extension cord, especially if it is at a height. It will be better to install the power extension cord close to the ground or the table so that the hanging wire should not pull it down. The best way to hang a power chord is vertical. Use an extra KLAPiT if you think the weight of the cables will be more.
For hanging shelves, remember that the weight you keep on the shelf may vary over time. Therefore, it is better to add one or two additional KLAPiTs to accommodate such variances.
Account for sudden force on the product. While installing products such as shelves, Tissue holders, pen holders, knife and spoon holders, etc., consider occasional sudden push or pull force. Therefore, it is advisable to add one or two extra KLAPiTs to hang such products, compared to your regular estimate.
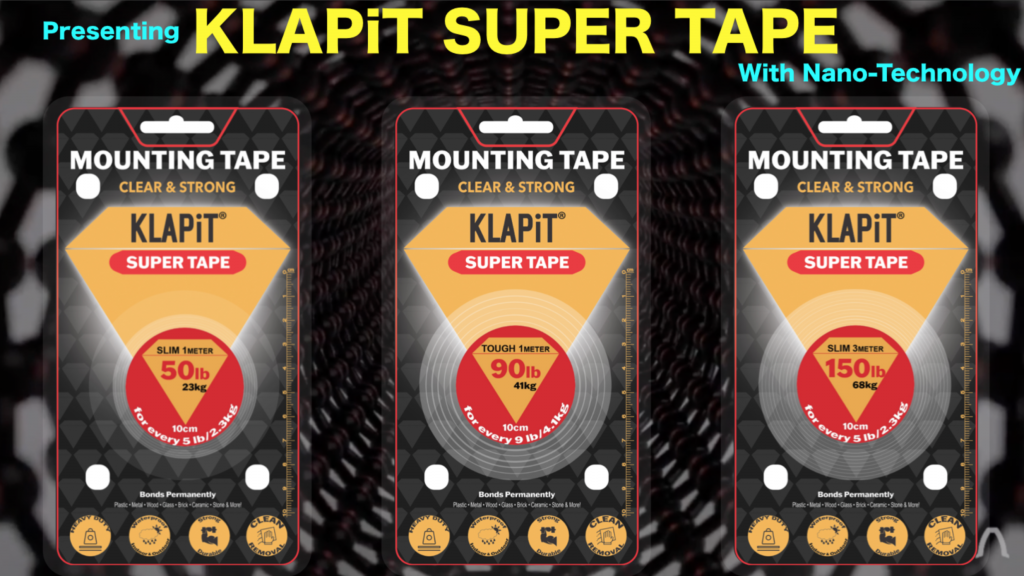
The Next Generation heavy duty Double-Sided Tape for Mounting
CHECK IT OUT!!!
We would like to hear from you
We believe this list contains most of the common errors and issues you may face while using KLAPiT. Once you start using KLAPiT, the practices such as “cleaning the wall” and “pressing the steep tape hard” will form a part of your habit. Therefore, after using KLAPiT a few times, you may never have to refer to this list again. However, we continuously seek to learn from you and develop solutions that will make your life comfortable and your homes beautiful. If you have any experiences with KLAPiT that you want to share, then write to us at [email protected].
Shop for KLAPiT in 3 countries
United Arab Emirates
Canada
United Kingdom
Share on facebook
Facebook
Share on whatsapp
WhatsApp
Share on linkedin
LinkedIn
Share on google
Google+
The product makes me so happy! It is so easy to use, no unnecessary drilling required and geez, the NED magnet is strong!!!
Clap for #KLAPiT. No mess, No Fuss, No BlackHoles in White Walls
Modern solution Very useful every where homes schools supermarkets home furnishings exhibitions trade shows retail outlets etc
Fantastic product. Very innovative. Lovely klaping noise. 10/10. Too easy.
Wow what a product go drill free
Damage free to walls and reliable, unlike tapes or velcro Love this product!
Nice concept. Would suggest everyone to try it.
No more holes on the wall. No screws, no drilling the walls, no hammering nails, no hiring expensive external resources......Just KLAPiT.
Your solution to all wall fixtures.
The magnets blend into the wall like they're not there. Excellent.
It’s a really good product, didn’t need to drill holes in my walls to hang my painting and also had the option to switch even after hanging it ! Really good product, must buy.


 Sometimes the width of the frame is slightly less than one inch. In such cases, the strength of the Beta steel tape will reduce significantly, and the steel tape may detach when you hang the product. In such cases, we suggest two solutions. Thus, depending on the width of the frame, you can decide on a suitable choice for damage-free hanging.
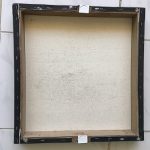
 We suggest that you measure the exact one sq. inch space where you want to install the beta tape in such cases. After that, you should tear one sq inch of paper or the plastic film from the surface using a sharp object such as a paper cutter.
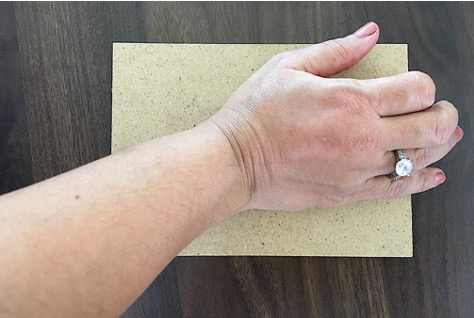 However, you must firmly attach the entire one sq inch steel tape to the surface.
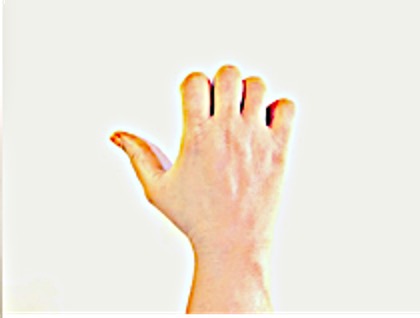 Therefore, you should press the steel tape hard enough, using both the thumbs and palm. Press the steel tape several times to maximize its adhesion. The repeated pressing of the steel with your palm is essential in the KLAPiT installation process. The flat surface of the steel tapes makes pressing relatively easy compared to a hook.
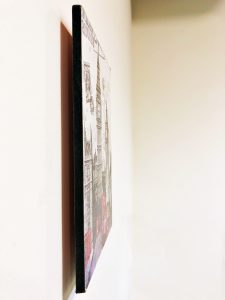
 While hanging a power cord, understand that the force due to hanging wires may be much larger than the weight of the power extension cord, especially if it is at a height. It will be better to install the power extension cord close to the ground or the table so that the hanging wire should not pull it down. The best way to hang a power chord is vertical. Use an extra KLAPiT if you think the weight of the cables will be more.