
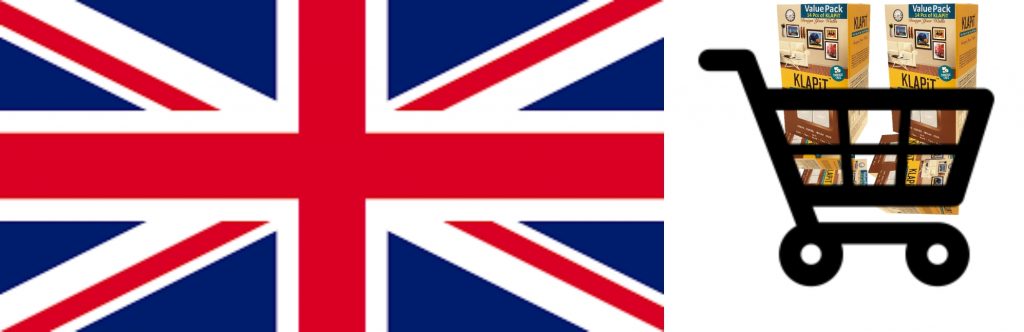
- Tear open the 2pc Pack of KLAPiT

KLAPiT Assembly - You will find 2 pairs of KLAPiT. Each Pair contains
- 1 Alpha Steel Tape (White Steel tape with an adhesive covered by a liner on one side)
- 1 Beta Steel Tape (Same as Alpha Steel Tape)
- A NED Magnet
- Detach the Steel tapes from the magnet by sliding them
- Keep the steel tapes @ 10 cm away from the magnet so they don’t attach again
- Place the painting on a hard surface with its back facing you.
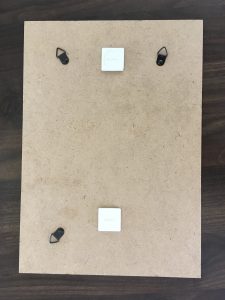
Install one steel tape on the top and other on the bottom of the frame - Remove the liner from the first Beta Steel Tape and place it on the frame so that the left of the Beta Steel Tape touches the “T” mark on top edge of the frame.
- Remove the liner from the second Beta Steel Tape and place it on the frame so that the left of the Beta Steel Tape touches the “B” mark on the bottom edge of the frame.
- Press both the steel tapes firmly against the frame. The greater the pressure, the stronger will be the bond between the frame and the steel tapes.
- Leave the painting for at least 30 minutes for the adhesive bond to strengthen.
- Attach the NED Magnet to the Beta Steel Tape.
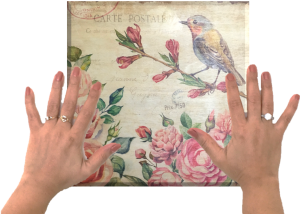
Install painting on the wall - Pick the painting and attach the it to the wall so that the Ned magnet is between the two steel tapes.
- You can adjust the painting by moving it clockwise or anticlockwise without pulling.
DIY
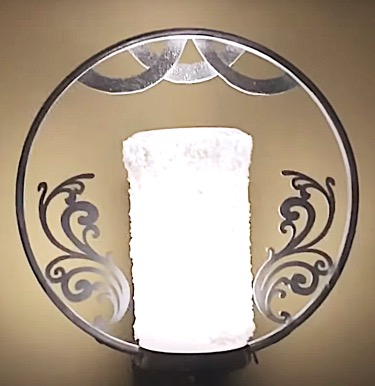
DIY – Antique Table Lamp
Add a premium antique look to your room with this beautiful table lamp. Create this
DIY
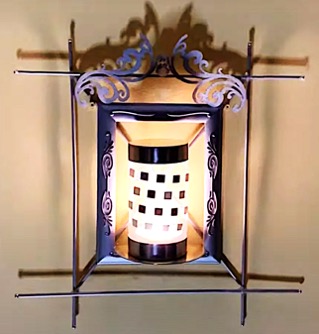
DIY – Heritage Wall Lamp
Re-live the era of your ancestors with this beautiful wall lamp. Create this masterpiece for
DIY
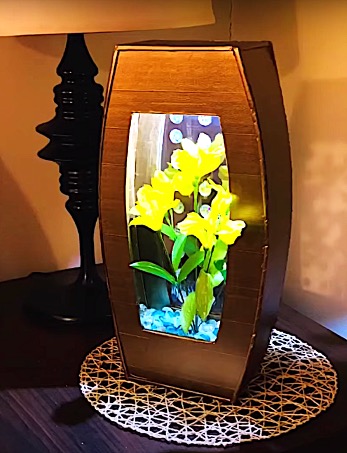
DIY – Pearls and Petals side lamp
Create this beautiful lamp using pearls and flowers. The colorful refraction from the pearls in